
Welcome, baking enthusiasts! Get ready to embark on a flavorful journey into the world of sourdough. It might seem intimidating at first, but trust me, it’s an adventure worth taking! This guide will walk you through everything you need to know on how to make sourdough bread. From how to make sourdough starter to a sourdough bread recipe easy enough to throw together on a weekend, we’ve got you covered!
What is Sourdough Bread, Anyway?
What is it?
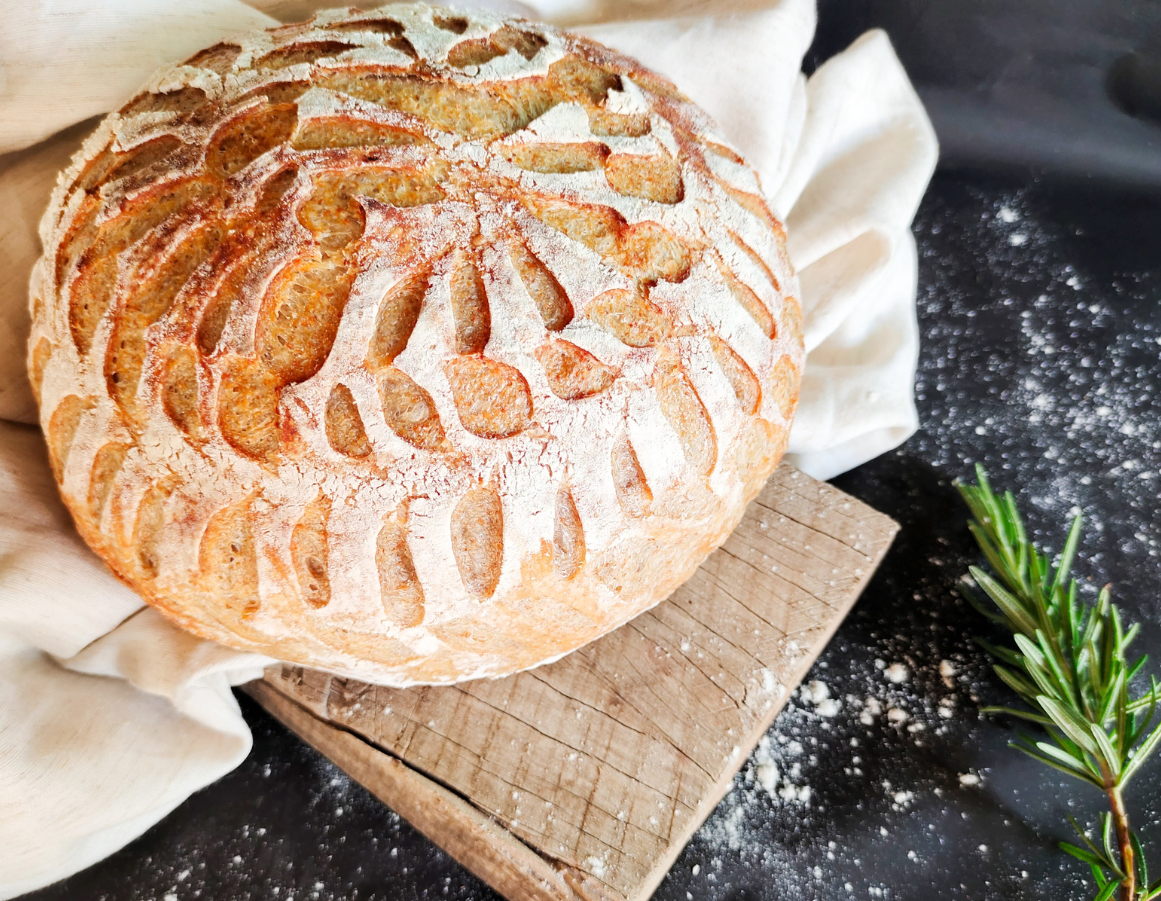
Sourdough bread is a true culinary gem, a testament to the magic of natural fermentation. Unlike conventional bread, which relies on commercial yeast for its rise, sourdough bread is leavened by a living culture of wild yeast and good bacteria (lactobactillus) found in flour and the air. This culture, known as a sourdough starter, is a blend of microorganisms that work together to create a bread with a depth of flavor and complexity that store-bought loaves just can’t match.
How does it work?
The wild yeast in sourdough starters ferments the sugars and starches in the flour, producing carbon dioxide gas that makes the dough rise. At the same time, the bacteria produce lactic and acetic acids, which give sourdough its signature tangy flavor and contribute to its longer shelf life compared to regular bread.
Where does it come from?
Sourdough isn’t a new invention; it’s actually one of the oldest forms of bread making, dating back thousands of years. Ancient civilizations discovered that a mixture of flour and water, left to sit, would naturally ferment and create a bubbly, flavorful dough. This traditional method of bread making has been passed down through generations, and today, sourdough is enjoyed by people all over the world.

Benefits of Sourdough Bread
So, what sets sourdough apart from other types of bread?
- Flavor: Sourdough bread has a unique, tangy flavor that develops as the starter ferments. The longer the fermentation process, the more complex and nuanced the flavor becomes.
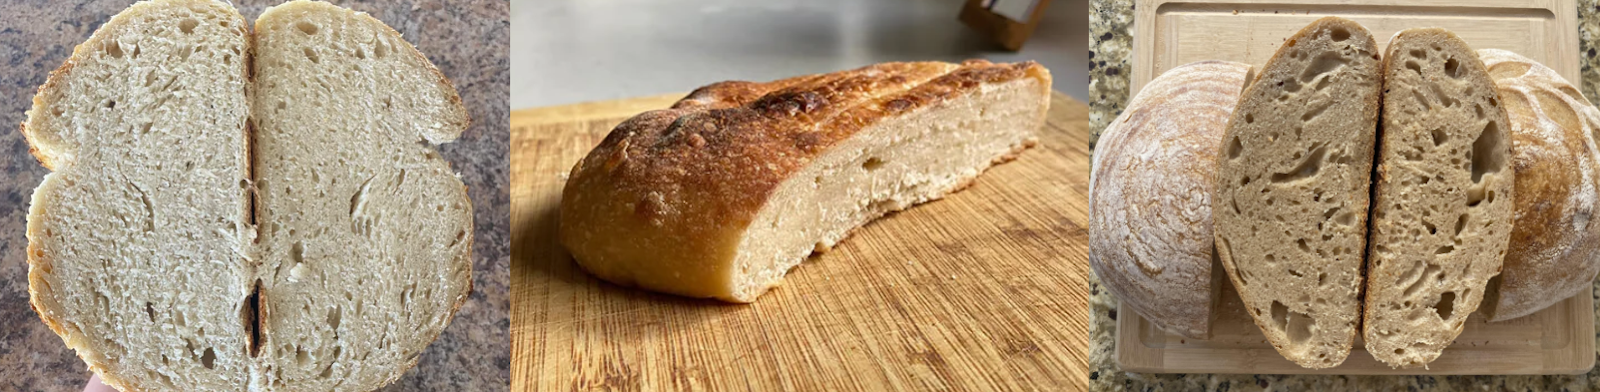
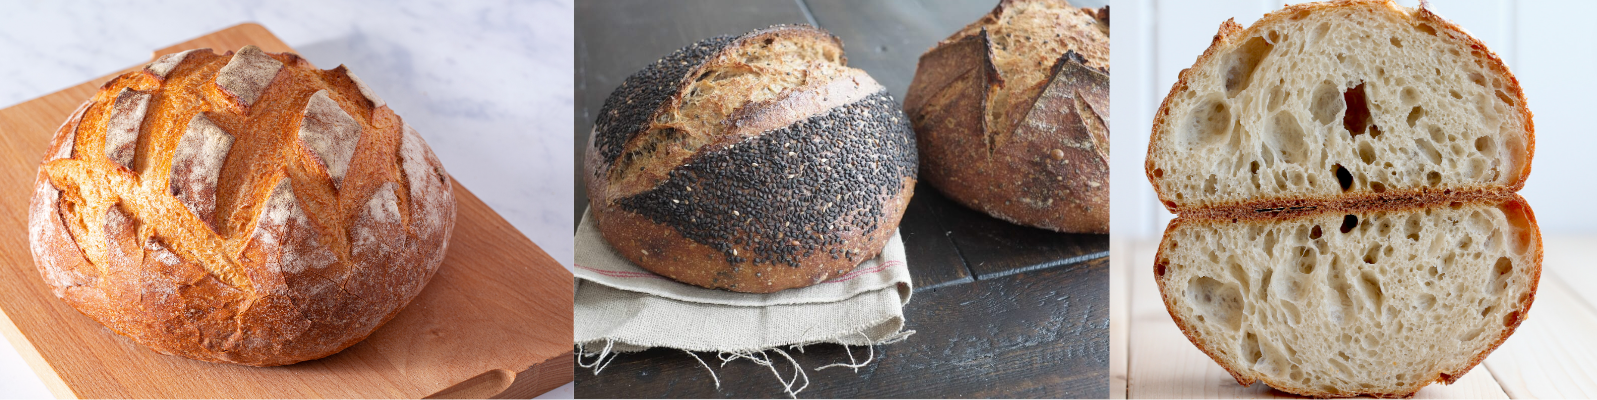
- Texture: Sourdough bread has a chewy, more “meaty” texture and an open crumb, thanks to the slow fermentation process and the action of the wild yeast.
- Digestibility: The fermentation process in sourdough breaks down gluten, making it easier to digest for some people compared to conventional bread. Please Note: While you can make gluten free sourdough and gluten free sourdough starter, regular sourdough made with wheat products is not suitable for those with celiac disease.
- Nutrition: Sourdough can contain higher levels of certain nutrients, such as folate and some antioxidants, compared to regular bread. The fermentation process digests “anti-nutrients” like phytic acid, which typically prevent us from absorbing the nutrients available in bread.
- Longevity: Sourdough bread tends to stay fresh longer than other breads due to the acidity produced by the starter during the fermentation and proofing processes.
If you’re looking for a bread with exceptional flavor, texture, and digestibility, sourdough is the way to go!
Sourdough Speak: Let’s Talk the Talk
To fully embrace the sourdough world, it’s helpful to understand some common terms:
Starter:
Your living culture of wild yeast and bacteria, the heart and soul of sourdough bread.
Feeding:
Nourishing your starter by adding flour and water, like giving it a tasty meal.
Discard:
Removing a portion of the starter to keep it at a manageable size and prevent it from becoming overly sour. You can use the discard in special “discard” recipes like pancakes, cookies, or brownies! More on this in a bit!
Levain:
This is your starter after it’s been fed and activated (when it is nice and bubbly), ready to leaven your sourdough. It’s like the superhero version of your starter!
Autolyse:
A fancy term for mixing flour and water and letting it rest before adding the levain and salt. This step helps develop gluten and improves the texture of your bread.
Hydration:
Refers to the ratio of water to flour in your dough, expressed as a percentage. Higher hydration doughs (e.g., 75%) are wetter and result in an open crumb, while lower hydration doughs (e.g., 65%) are stiffer and produce a denser crumb.
Bulk Fermentation:
The first long rise of the dough, where the yeast ferments the sugars and creates air bubbles, giving your bread its airy crumb (texture).
Proofing:
The final rise of the dough, usually after it’s been shaped into loaves. Think of it as the bread’s beauty sleep before baking.
Coil Folds:
A gentle method of strengthening the dough during bulk fermentation. You lift the dough and let it fold onto itself, like a coil, to develop gluten without deflating too many air bubbles. This technique is particularly useful for high-hydration doughs.
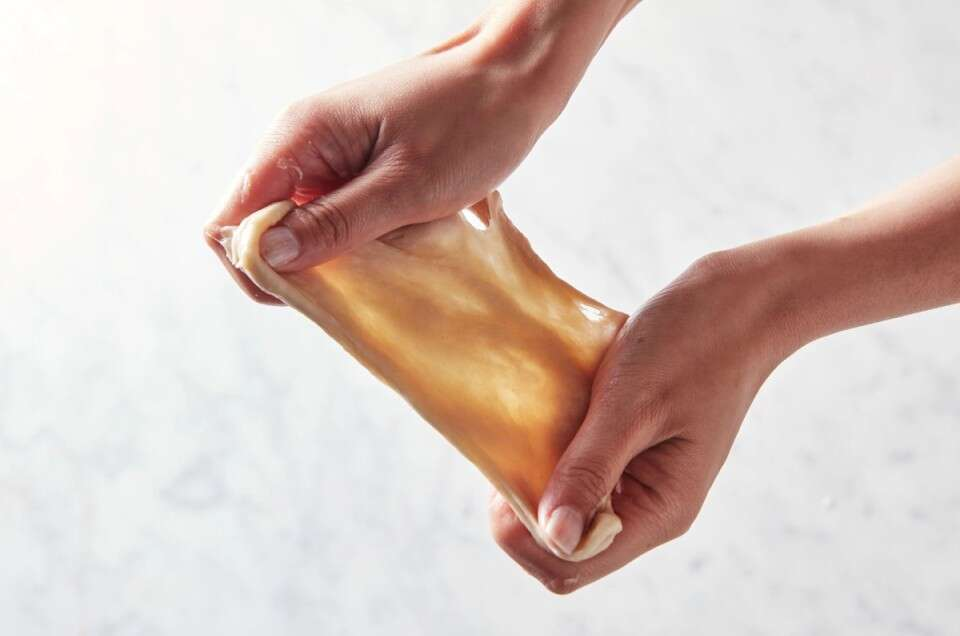
Window Pane Test:
A way to check if the gluten in your dough is well-developed. Pinch off a small piece of dough and gently stretch it. If it forms a thin, translucent “window” without breaking, the gluten is strong enough for baking your sourdough bread.
Lame:
Pronounced “Lahm”, this is the French word for “blade” and is a special type of blade used for scoring (cutting) the top of sourdough bread.
Creating your Starter: How to Make Sourdough Starter
Your sourdough starter is a living culture, a colony of wild yeast and bacteria that needs to be nurtured and fed. Think of it as your own little sourdough pet – it’s not as demanding as a puppy, but it does need regular attention to thrive. Here are three simple methods to bring your starter to life:
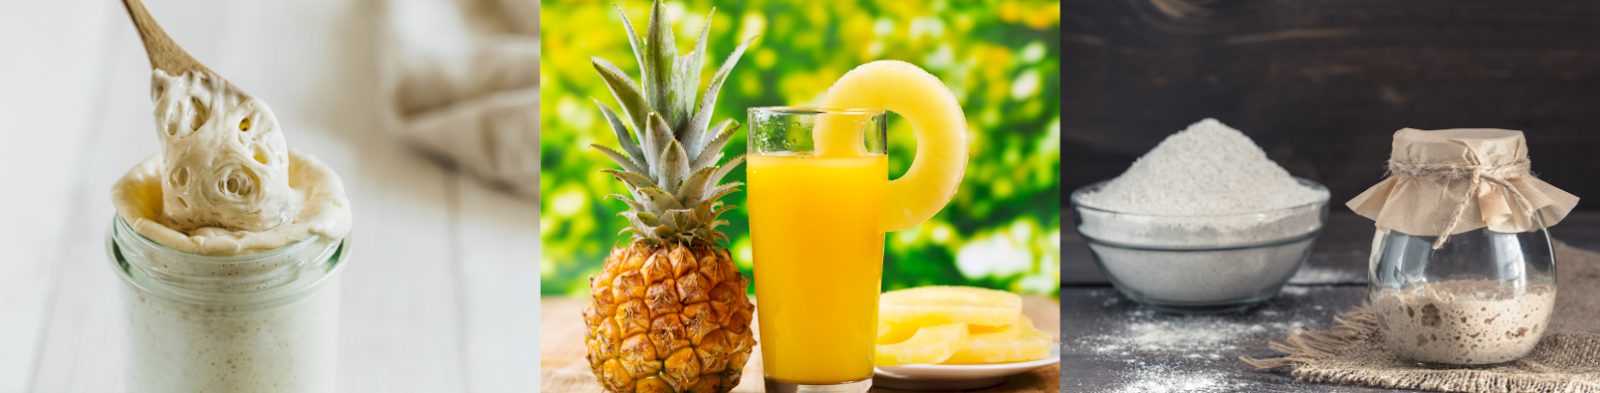
1. The Classic Flour and Water Method:
- Day 1: Combine 1/2 cup (60g) of all-purpose flour with 1/2 cup (60g) of lukewarm, filtered water, in a clean glass or plastic container. Cover loosely and let it rest at room temperature (around 70-80°F is ideal).
- Days 2-14: Every day, discard (throw away or cook with) half the starter and “feed” it with a fresh mix of 1/4 cup flour and 1/4 cup lukewarm, filtered water. Stir well and repeat. Over the next few days, you’ll notice bubbles forming and a tangy aroma developing as the microorganisms wake up and get to work.
2. The Pineapple Juice Boost:
- Pineapple juice contains natural sugars that can help jump-start the fermentation process. Follow the classic method, but on Day 1, use 1/4 cup of pineapple juice and 1/4 cup water instead of all water. Resume using plain water for subsequent feedings.
3. The Rye Flour Fast Track:
- Rye flour is naturally rich in nutrients and microorganisms, making it a great option for a faster-rising starter. Start by following the classic method, but use rye flour instead of all-purpose flour for the first three days. Then, switch to all-purpose flour for the remaining days.
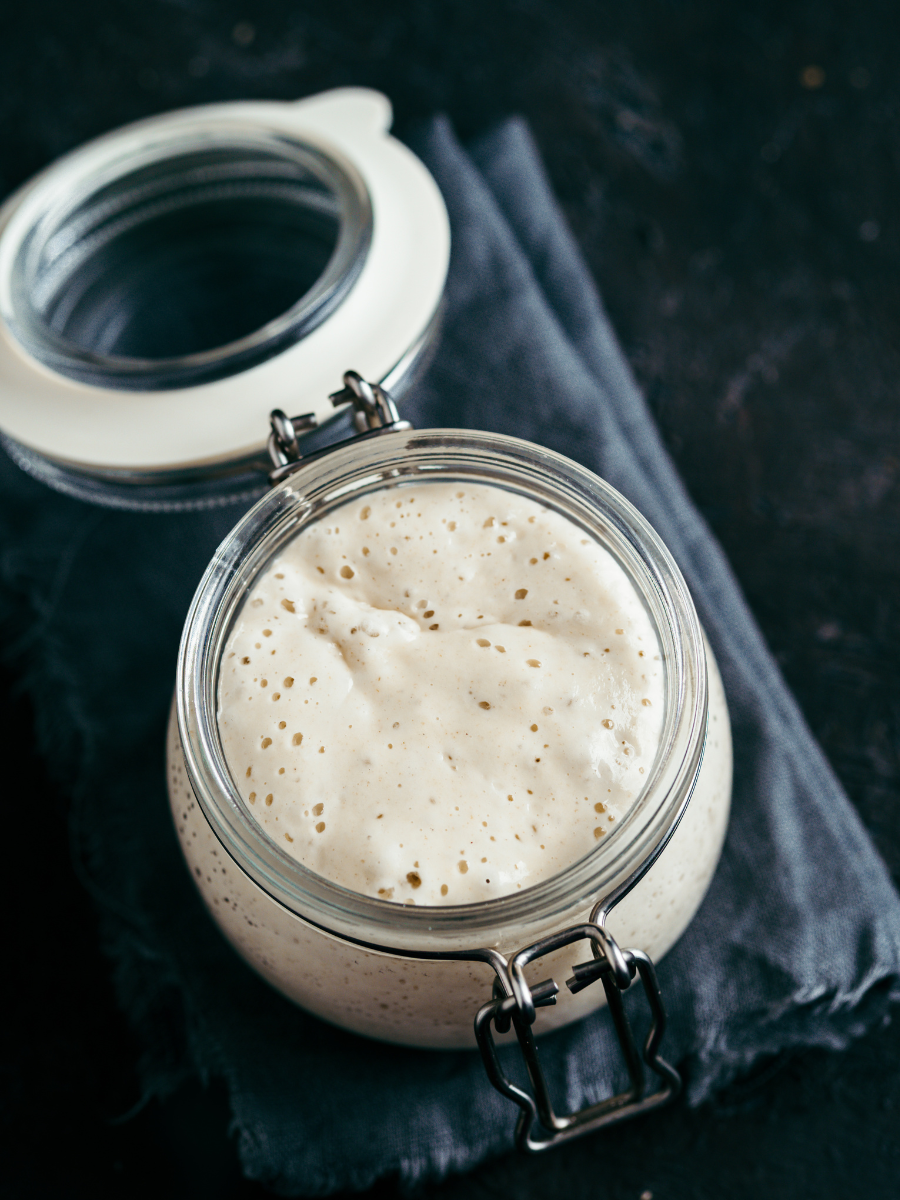
When is My Starter Ready for Baking?
Your starter is ready to use when it doubles in size within 4-8 hours after feeding and has a bubbly, slightly sour smell. This usually takes about two weeks, but it can vary depending on factors like temperature and flour type. Patience is key!
However, if the idea of waiting two weeks for your sourdough starter to bubble to life doesn’t quite fit your schedule, there are faster options! You can always purchase fresh starter from a local bakery (support small businesses!) or even ask a generous neighbor if they’re willing to share a bit of their own starter. These fresh starters are ready to use as soon as their next feeding.
Alternatively, you can kickstart your sourdough journey with a dehydrated starter. These handy packets of dormant sourdough culture are easy to rehydrate and can be up and running in a matter of days. Plus, they offer a unique opportunity to bake with starters that have centuries of history behind them! Yes, you read that right – some dehydrated starters are cultivated from cultures that are over 200 years old (some dating back to the California Gold Rush). Imagine the stories and flavors they carry!
So, whether you choose to nurture your own starter from scratch or opt for a ready-made option, the exciting world of sourdough baking awaits you!
The Importance of Discarding: A Safe & Healthy Start for Your Sourdough
Think of your sourdough starter as a microscopic battlefield, where good and bad microbes duke it out for dominance. In the early stages, when your starter is still a fledgling culture, it’s vulnerable to unwanted guests like E. coli and Salmonella (CDC 2023). This is because flour, surprisingly, is a raw food – it hasn’t been treated to kill these pathogens (which is the REAL reason you shouldn’t eat raw cookie dough!).
The warm, moist environment of a starter is a paradise not just for the wild yeast and bacteria you want, but also for those you don’t. This is where discarding becomes your secret weapon. By removing half of the starter before each feeding, you’re essentially culling the ranks of potential troublemakers. This gives the good bacteria, particularly lactobacilli, a chance to thrive.
These lactobacilli are the heroes of sourdough. As they multiply, they produce lactic and acetic acids, which lower the starter’s pH. This acidic environment creates a hostile fortress against unwanted bacteria, mold, and harmful germs, effectively kicking them out of the club.
After about two weeks of regular feedings and discarding, your starter will have developed a strong, stable community of beneficial microbes, and the pH will be low enough to keep the bad guys at bay. At this point, your starter is mature, safe to eat, and ready to leaven your bread with deliciousness!
How to Make Sourdough Starter – Bonus Tips:
- Cleanliness: Always wash your hands thoroughly before and after handling your starter (especially during those first two weeks). Use clean utensils and containers to avoid introducing unwanted microbes or mold. And remember, clean your work surface before and after you’ve been working with your starter.
- Storage: Store your starter in a clean, non-reactive container (glass or food-grade plastic, like deli containers) covered loosely with a lid. This allows airflow while preventing contaminants from entering. Keep your starter at a consistent temperature – room temperature for an active starter, or a newly developing culture, refrigeration for mature starters or long term storage.
- Monitoring: A healthy starter should have a pleasant, slightly sour aroma and be bubbly about 4-8 hours after feeding. If you notice any mold (pink, orange, or green), foul odors, or other discoloration, it’s best to discard the starter and start fresh. Note: Gray liquid on top is normal if you haven’t fed your starter in a while. This is called “hooch” and is the alcoholic byproduct of the fermentation process. You can either mix it in, or pour it off and replace with an equal amount of filtered water.
- Safe Disposal: If you need to throw away a portion of your starter, don’t pour it down the drain as this can cause stubborn clogs. Instead, compost it or add it to your garden soil.
Maintaining Your Mature Starter: A Less Messy Approach
Once your starter is established and active (after about two weeks), discarding is no longer necessary for safety reasons. In fact, many experienced bakers prefer a “no-discard” method to minimize waste and simplify their routine.
Here’s how it works:
- Store your starter in the refrigerator: Refrigeration slows down fermentation, so you don’t need to feed your starter daily.
- Feed before baking: When you’re ready to bake, take your starter out of the refrigerator and feed it only the amount needed for your recipe. For example, if your recipe calls for 200g of starter, feed it 100g of flour and 100g of water.
- Return to the fridge: After baking, put the remaining starter back in the refrigerator.
This method not only reduces waste but also allows your starter to develop complex flavors over time. The longer it matures, the more unique and delicious your sourdough will become.
Remember: While discarding is important for the initial development of a healthy starter, it’s not a strict requirement once your starter is mature and active.
Embrace the flexibility of sourdough baking and find a routine that works best for you and your kitchen!
Useful Sourdough Tools
Just a crumb of info: clicking on some links here might butter up my bank account with a commission at no extra cost to you. But rest assured, we only serve up products we’ve kneaded, proofed, and taste-tested in our own kitchens! Thank you for your support!
While you don’t need a fancy kitchen to make amazing sourdough, a few key tools can make your baking journey even smoother:
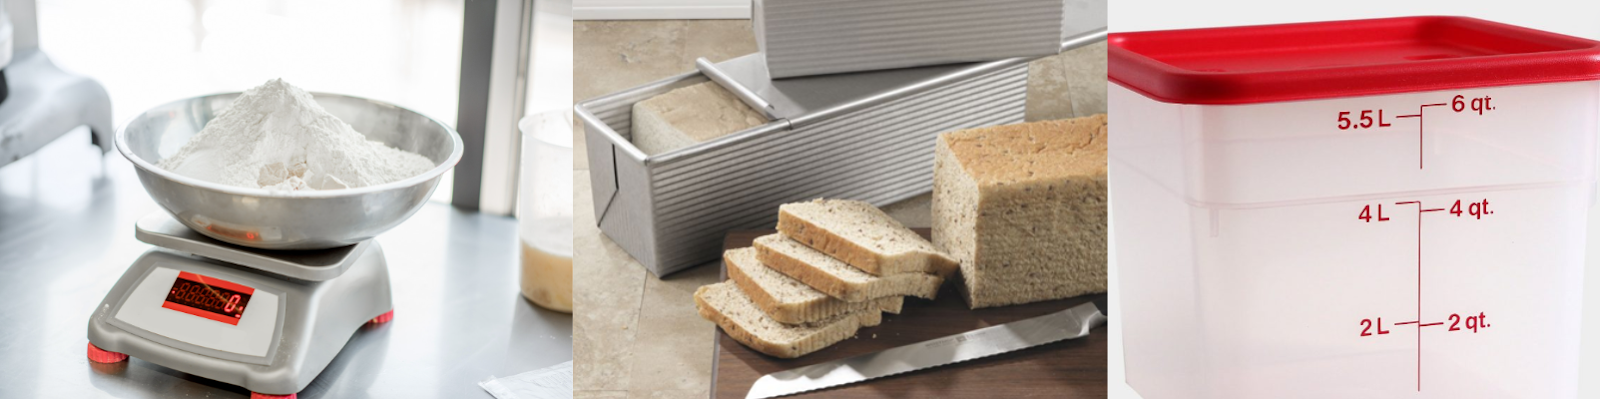
Food Scale:
Precision brings consistency! While not necessary to make sourdough bread, using a food scale ensures you measure your ingredients accurately, which will give you more consistent results over time. This is especially important for water, as hydration levels greatly affect your dough’s texture. This is the scale we use! We’ve had ours since 2017, and it’s still going strong!
Mixing Bowl:
A large, non-reactive bowl (glass or food safe plastic) is essential for mixing and kneading your dough. Make sure it’s big enough to allow your dough to double in size during bulk fermentation.
Spatula & Dough Scraper:
A good spatula or dough scraper is indispensable for handling sticky dough (common in sourdough bread recipes), transferring it between bowls, and cleaning your work surface. It also comes in handy for that first initial dough mix!
Pullman Loaf Pan:
This type of pan has a lid that creates a square loaf with a tight crumb – perfect for sandwiches and toast! It’s also great for bakers who prefer a more uniform loaf shape. We love ours, and although artisan loaves are pretty, the Pullman Pan makes sourdough so easy!
Reusable Shower Caps:
These make surprisingly great dough covers! They’re reusable, create a tight seal to prevent drying, and are easy to see through to monitor your dough’s rise.
Cambro Proofing Box:
If your kitchen tends to be drafty or cold, a proofing box provides a controlled environment for your dough to rise consistently. It’s a game-changer, especially during colder months. Additionally, a proofing box allows you to easily see how much your sourdough has increased in volume.
With these tools in your arsenal, you’ll be well-equipped to tackle any beginner sourdough recipe with confidence and ease! More tools are required for artisan loaves, but this is a great start.
Let’s Get Baking! – How to Make Sourdough Bread
Now that you have a bubbly, active starter, let’s learn how to make sourdough bread! This “Wonder” loaf recipe is a great starting point for beginners, and you can customize it as you gain confidence. It is no-knead and almost set-it-and-forget it, so it will fit into any schedule. For practicality and ease, this first loaf is meant to be a traditional sandwich loaf (although, as you advance more, you can shape it like a boule or batard, and make an artisan loaf).
The “Wonder” Loaf: A Sourdough Bread Recipe So Easy you won’t Believe it!
Ingredients:
Baker’s Tip: If you’re unsure if your loaf is done, give the bottom a tap – it should sound hollow when baked through.
How to Make Sourdough Bread – Troubleshooting
Sourdough baking can be a bit unpredictable, but don’t worry if you encounter a few bumps along the way. Here are some common issues and how to troubleshoot them:
- Starter not rising: If your starter isn’t doubling in size after feeding, try moving it to a warmer spot or using filtered water. You can also try adding a pinch of sugar (or even commercial yeast) to the feeding to give the culture a boost.
- Dough not rising: Make sure your starter is active and bubbly before using it. Check the temperature of your dough – too cold or too hot can slow down yeast activity.
- Dense, heavy, or gummy bread: This could be due to poor gluten development or under-fermentation. Ensure you’re doing enough coil folds to develop a strong gluten network, and give it enough time to rise during both bulk fermentation and proofing.
- Sourdough smells overly sour: This usually means your starter has gone too long without feeding. Discard half of the starter and feed it with fresh flour and water to restore balance.
- Bread is too flat or doesn’t have a good oven spring: Make sure your oven is properly preheated, and try using a baking stone or steel to create a more consistent baking environment.
Beyond the Basics: Sourdough Variations
Once you’ve mastered the basic sourdough recipe, feel free to experiment with different flours, add-ins, and shaping techniques. Here are a few ideas to get you started:
- Whole Wheat Sourdough: Replace up to 50% of the all-purpose flour with whole wheat flour for a nuttier flavor and denser texture.
- Sourdough with Seeds and Grains: Add a handful of pumpkin seeds, sunflower seeds, flax seeds, or rolled oats to the dough for extra crunch and nutrition.
- Sourdough Baguettes: Divide the dough into smaller pieces and shape them into long, thin baguettes for a classic French bread experience.
- Sourdough Focaccia: Over-proof the dough (on purpose), then top the dough with olive oil, herbs, salt, and your favorite toppings! Dimple it with your fingers, and bake for a wonderfully flavorful flatbread.
- Sourdough Pizza Skulls: Make the best pizza dough ever and start spooky season early for some extra fun!
Embrace the Sourdough Adventure!
Baking sourdough is a rewarding and delicious journey. Don’t be afraid to experiment, try new recipes, and troubleshoot along the way. Remember, every baker starts somewhere, and the most important thing is to have fun and enjoy the process!
So, what are you waiting for? Grab your starter, roll up your sleeves, and get ready to bake some amazing sourdough bread!
Bonus Tip: If you’re looking for a fun and informative sourdough community, check out the Sourdough Rebel Baking Facebook Page. It’s a great place to ask questions, share tips, and get inspired by other sourdough enthusiasts. In fact, it is the ONLY group I recommend as every other group I’ve been a part of has had multiple Judgy Judy people who insist that sourdough must be made a specific way.


